There’s something remarkably special about a living room that feels "lived in." It shouldn't just look trendy for a single season; it should be full of stories. Think carved wood, gleaming old brass, the fading paint on a vintage frame, or a weathered Indian wall panel that looks like it was rescued from an old haveli.
When you combine that kind of soulful antique furniture with wooden wall panels, the whole space transforms. It stops being just a room with a sofa and a TV and starts feeling like a curated gallery.
In this guide, let’s walk through exactly how to style these elements together so your living room looks rich, warm, and intentional—not busy or mismatched.
Step 1: Choose Your Feature Wall
Start by picking just one wall to highlight. In most living rooms, this is usually the wall behind the sofa or the entertainment unit.
A quick rule of thumb:
Compact Rooms: Don’t panel every wall. One strong feature wall is enough to give your antique furniture a visual anchor without making the room feel claustrophobic.
Spacious Rooms: You can run floor-to-ceiling panels on one side, but keep the opposite wall airy with light paint to maintain visual balance.
Step 2: Define Your Panel Style
The texture of your wood panels sets the tone for the entire room. Let your antiques guide this choice.
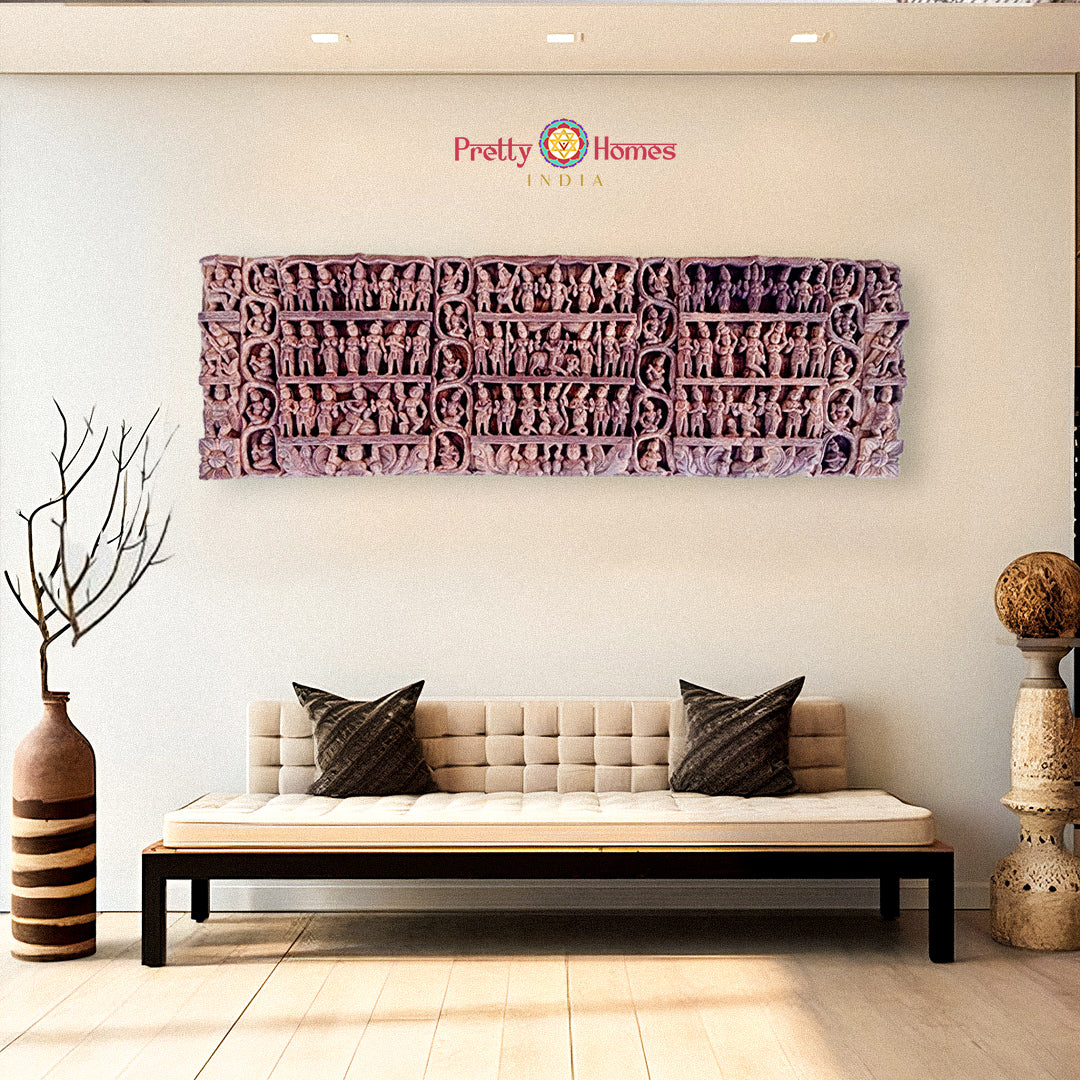
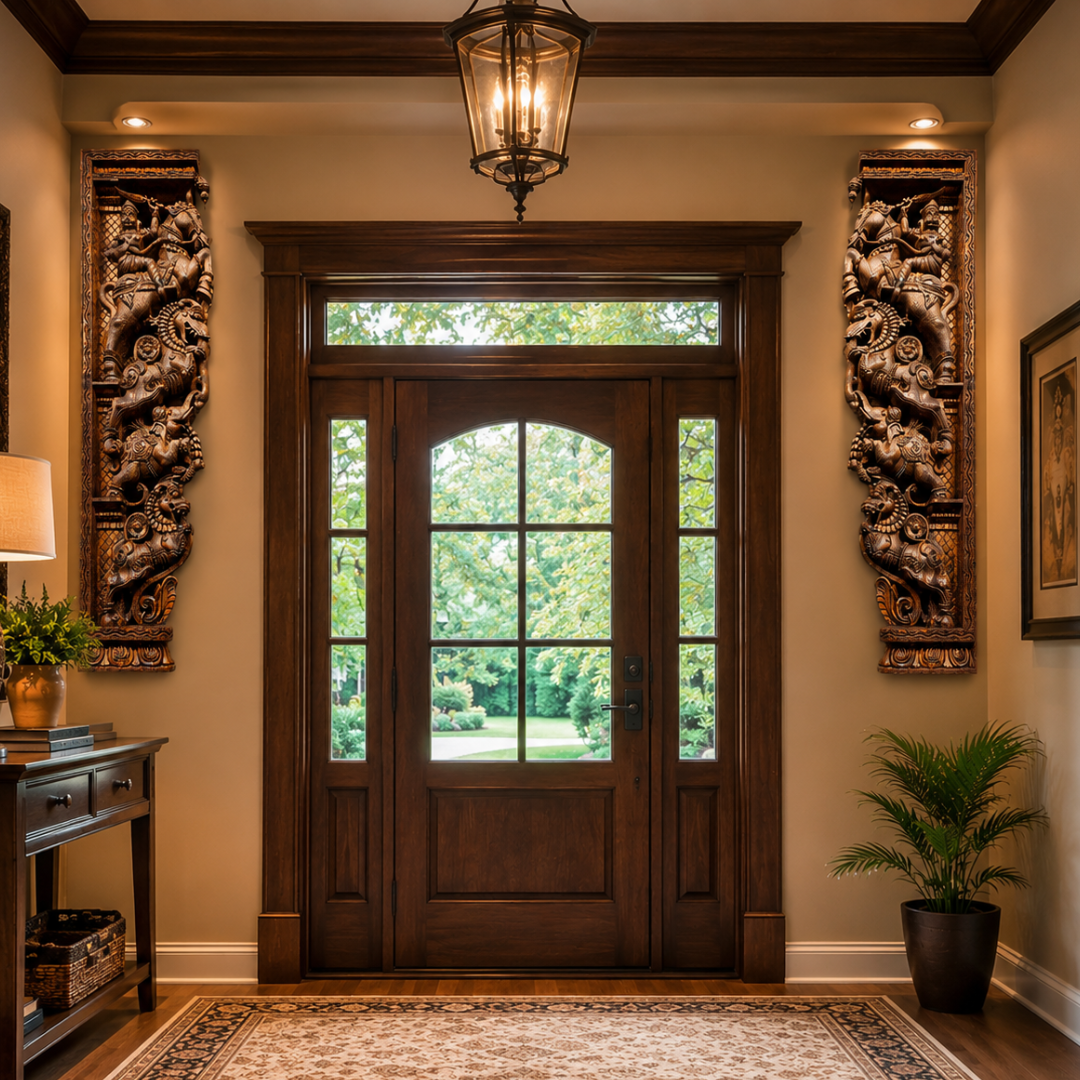
For a Royal Heritage Look: If you love vintage carved windows (jharokhas), antique brackets, and distressed teak, embrace texture. Try placing one large carved panel as a centrepiece behind your sofa and surrounding it with simpler wood cladding.
For a Modern-Meets-Heritage Vibe: If your furniture is cleaner (neutral sofa, sleek TV unit), use vertical wooden slats. This creates a clean, linear backdrop. Then, bring in history with accents—like a single antique console under the TV or an old trunk used as a side table.
Step 3: Mix Wood Tones (Without the Headache)
The biggest mistake people make is randomly mixing too many wood finishes. Since your antiques likely have deep, rich colours (like walnut, rosewood, or teak), you need a plan.
If your antiques are dark, go for a slightly lighter wall panel. This stops the room from feeling like a cave.
If your furniture is light : You can afford a richer, darker wood wall panel to add drama and depth.
Pro Tip: Match the undertone, not the exact colour. If your antiques are reddish-gold (warm), choose panels that are also warm. If they are greyish-brown (cool), stick to cool-toned panels.
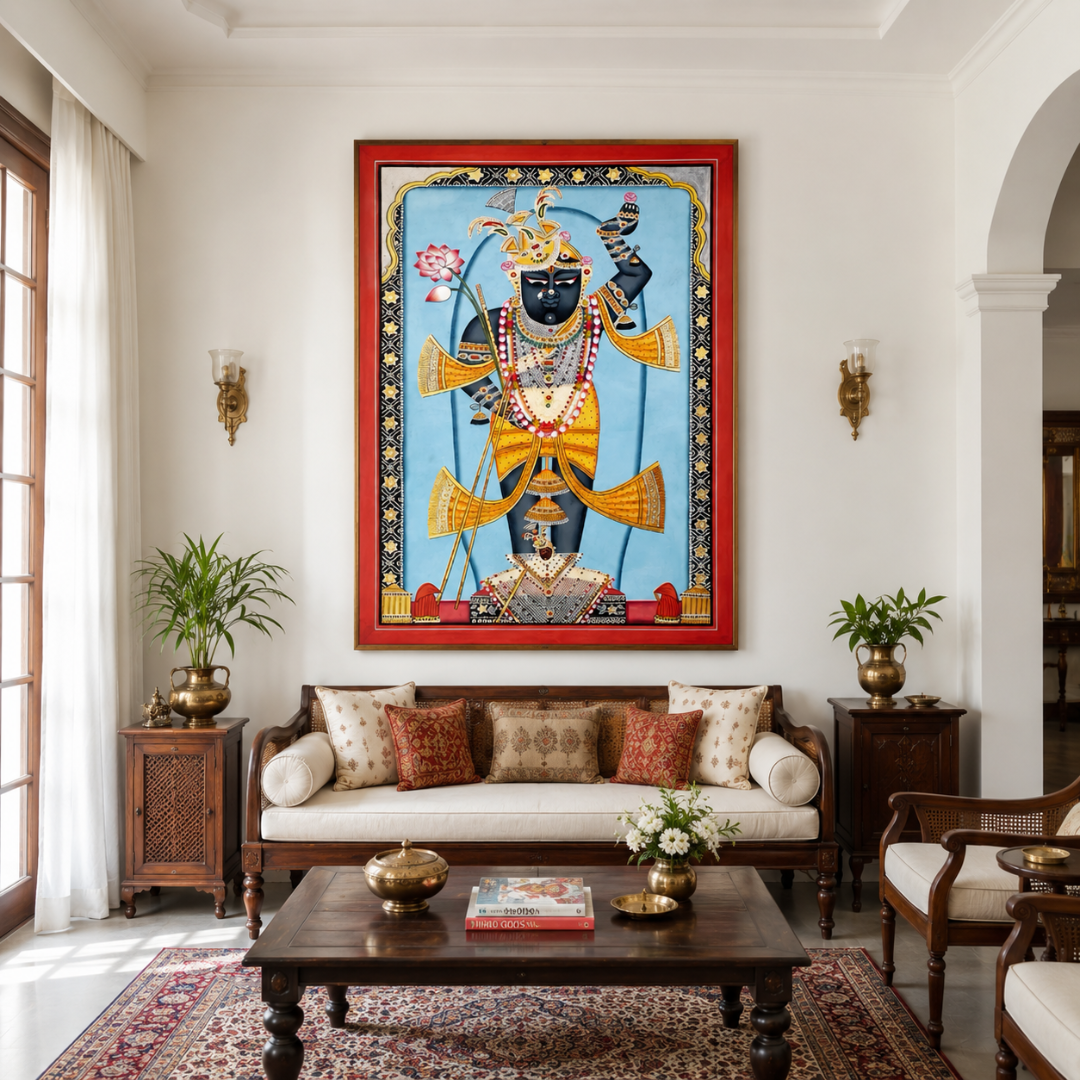
Step 4: Build Around One "Hero" Piece
Styling is the fun part. Instead of spreading antiques everywhere, choose one or two "hero" pieces to place directly in front of the wooden wall.
Try these winning combinations:
-
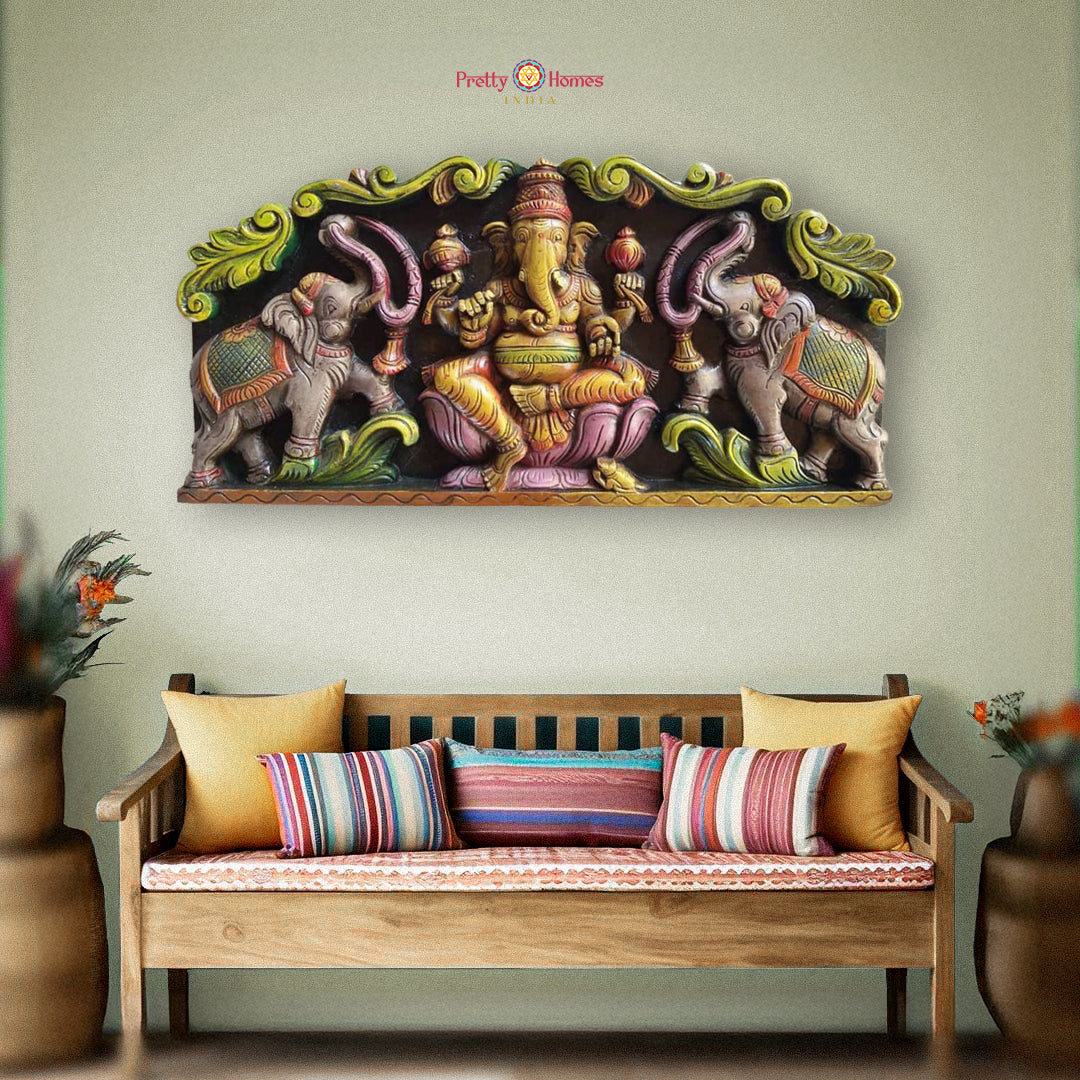
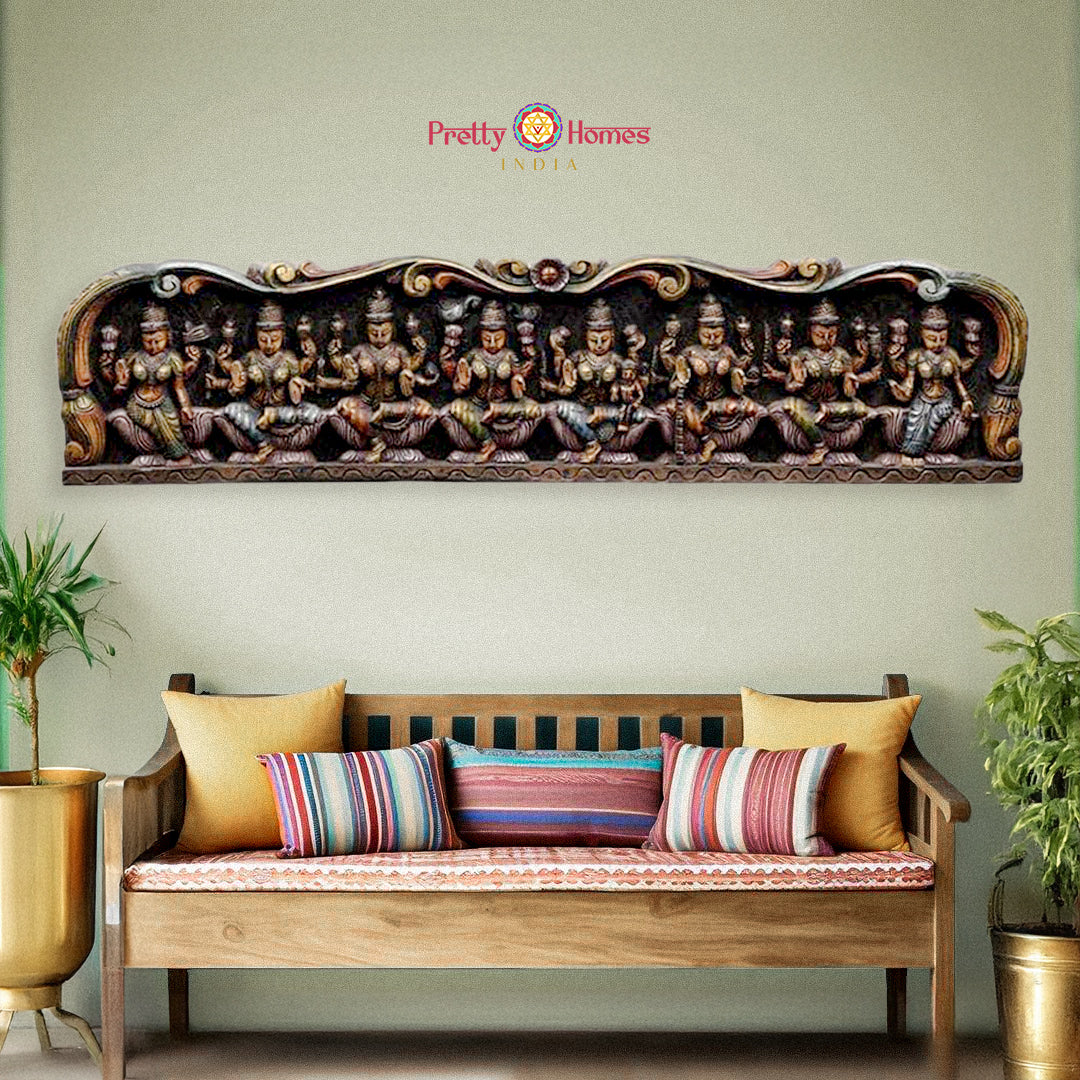
A carved vintage Indian wall panel hung centrally, with a simple wooden bench beneath it.
-
An antique sideboard with brass hardware placed against a slatted wall, topped with a pair of vintage lamps.
-
Old window frames arranged in a grid above a sofa, using the panelled wall as a textured background.
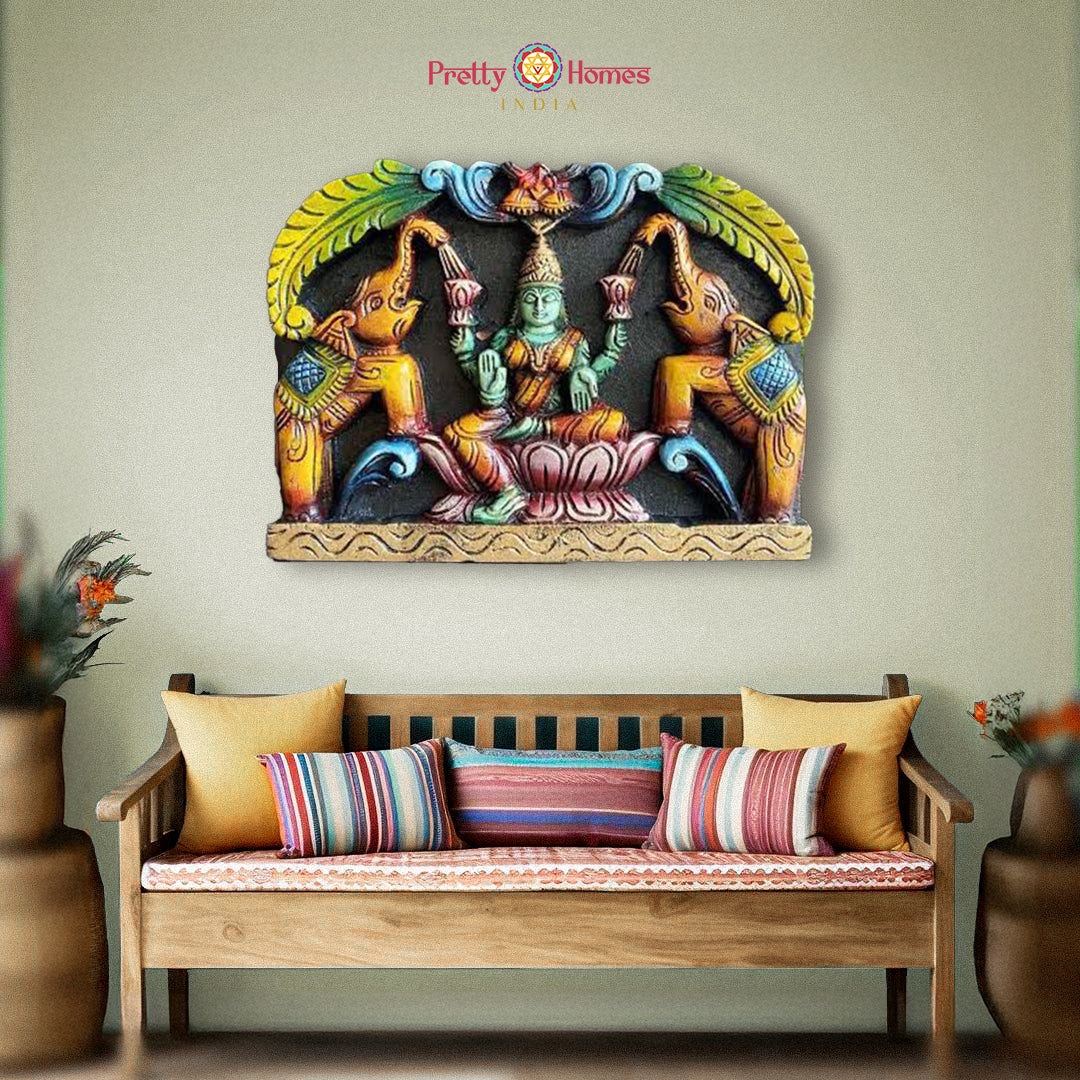
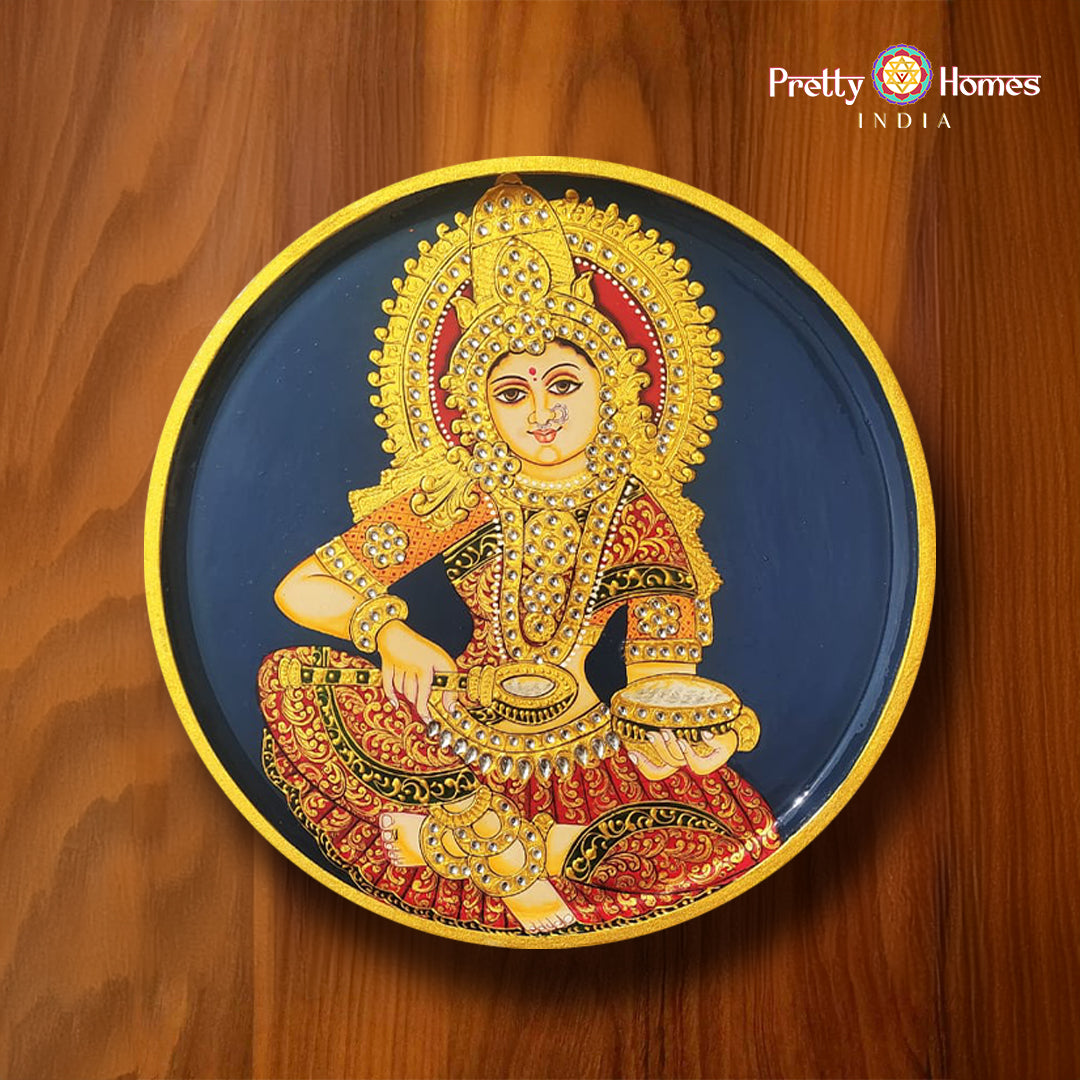
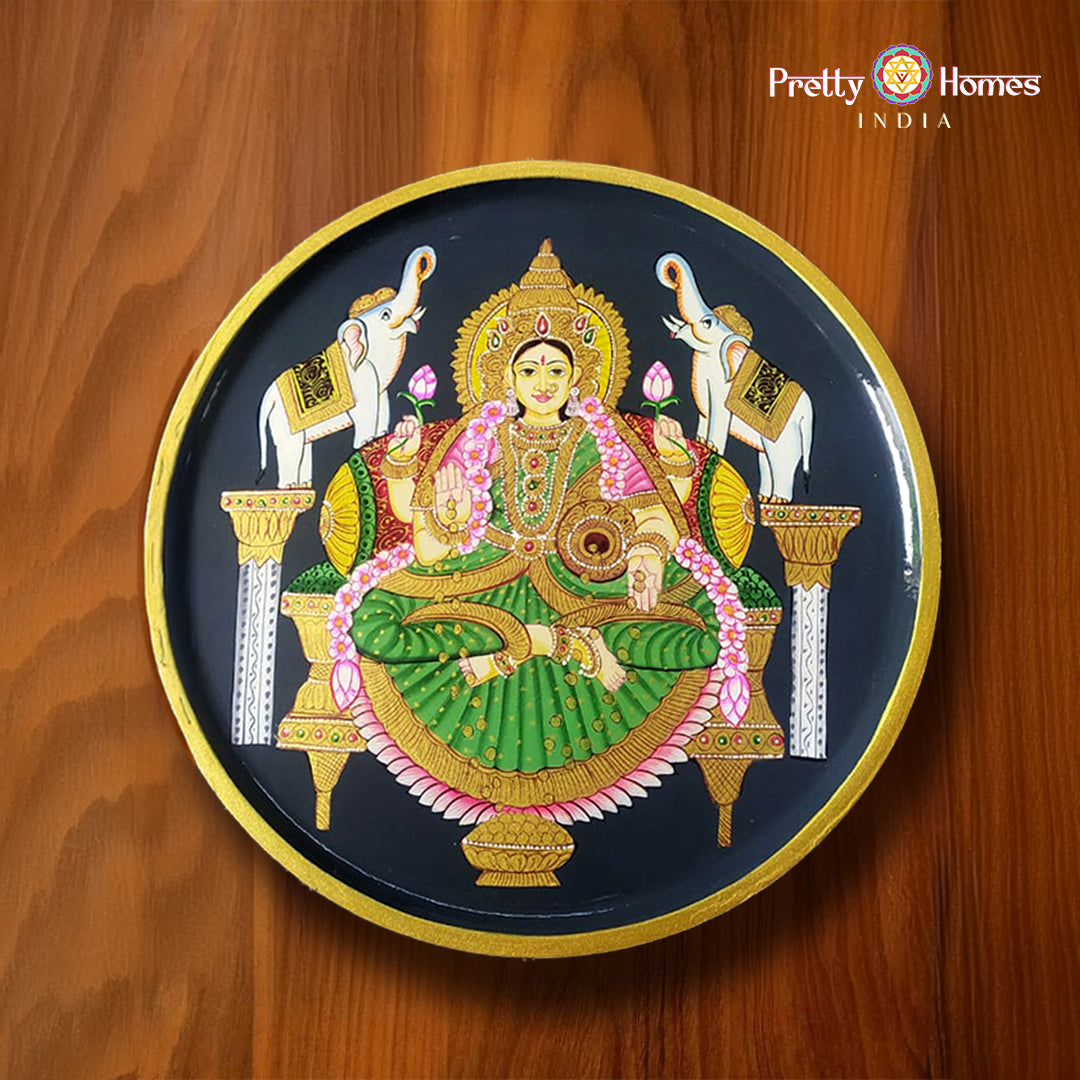
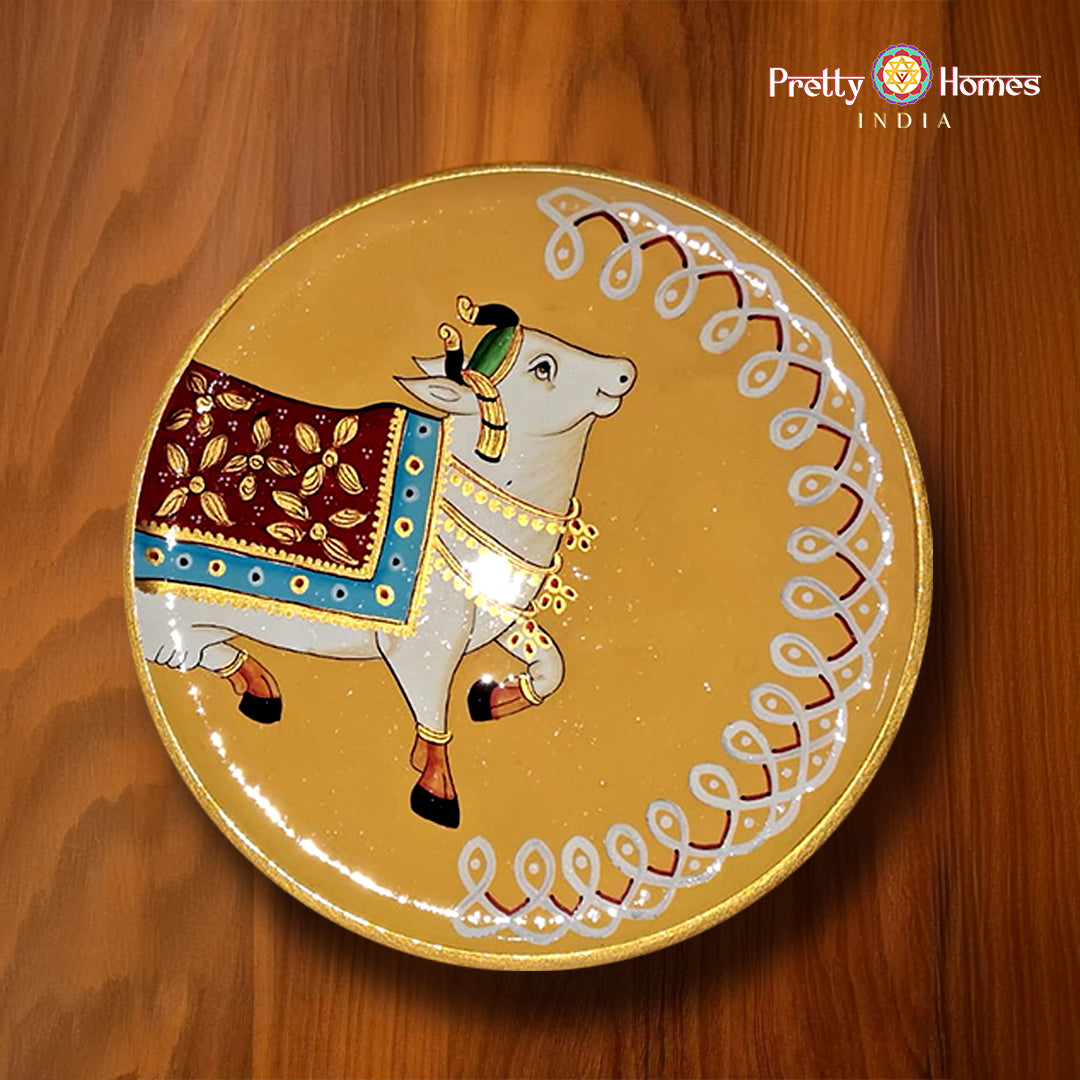
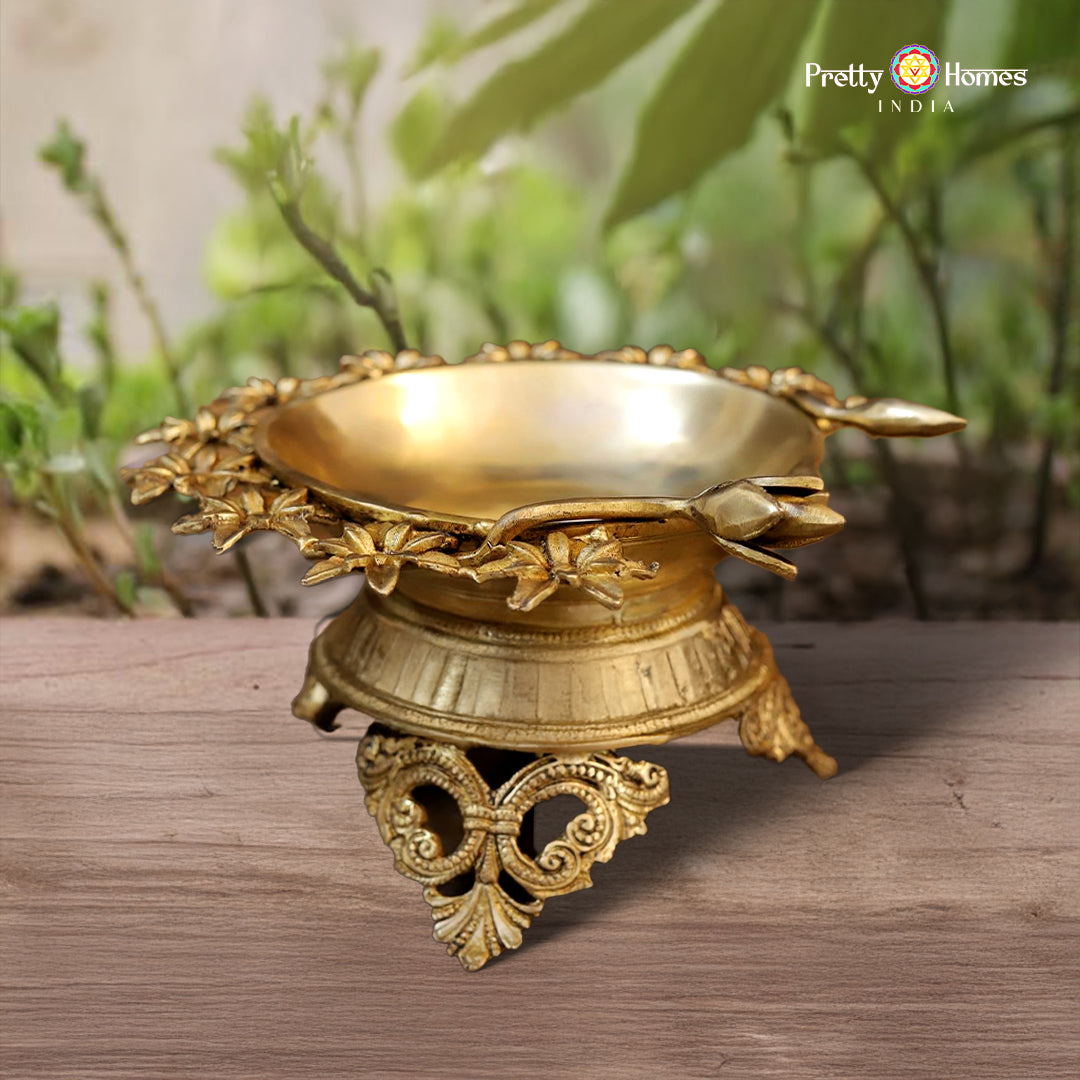
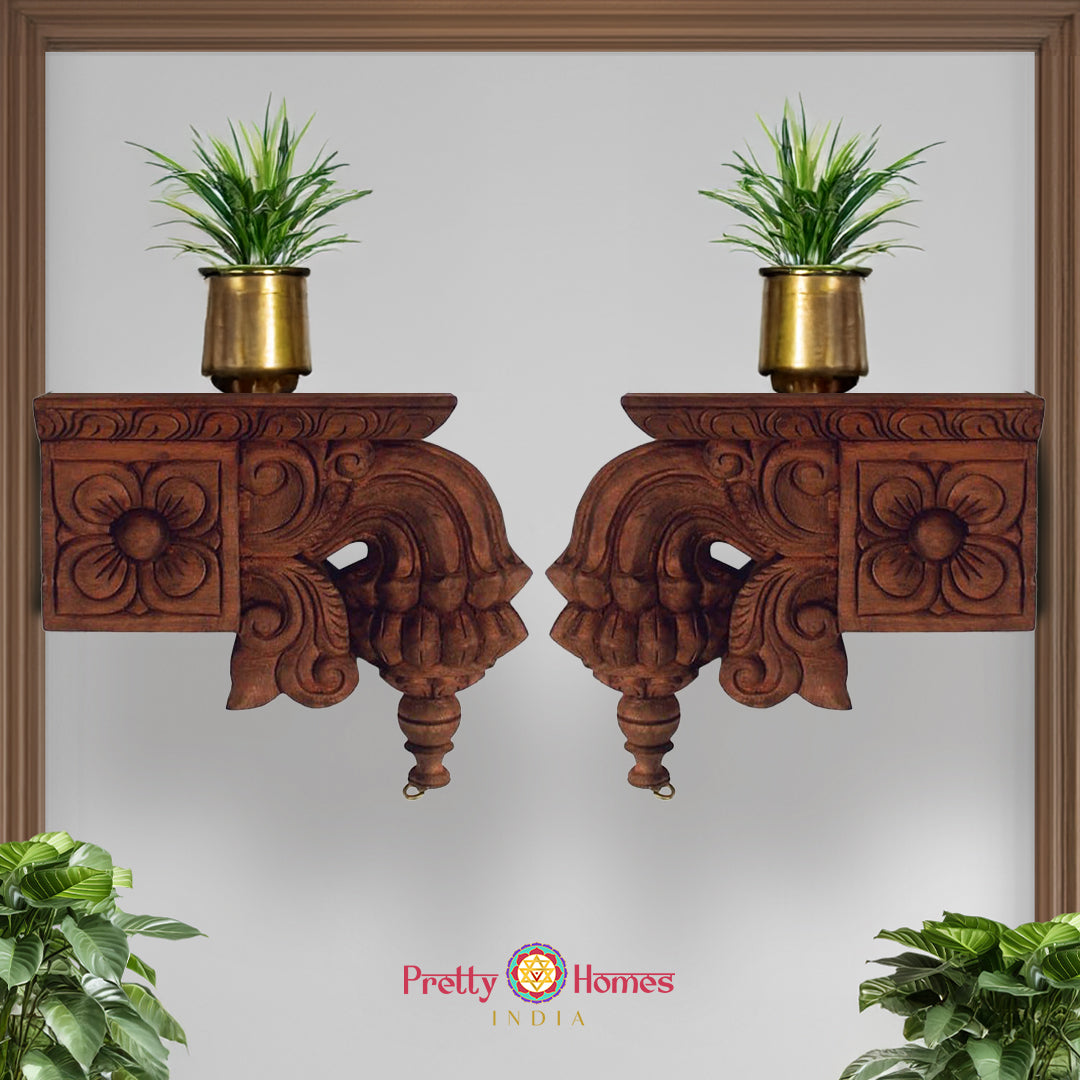
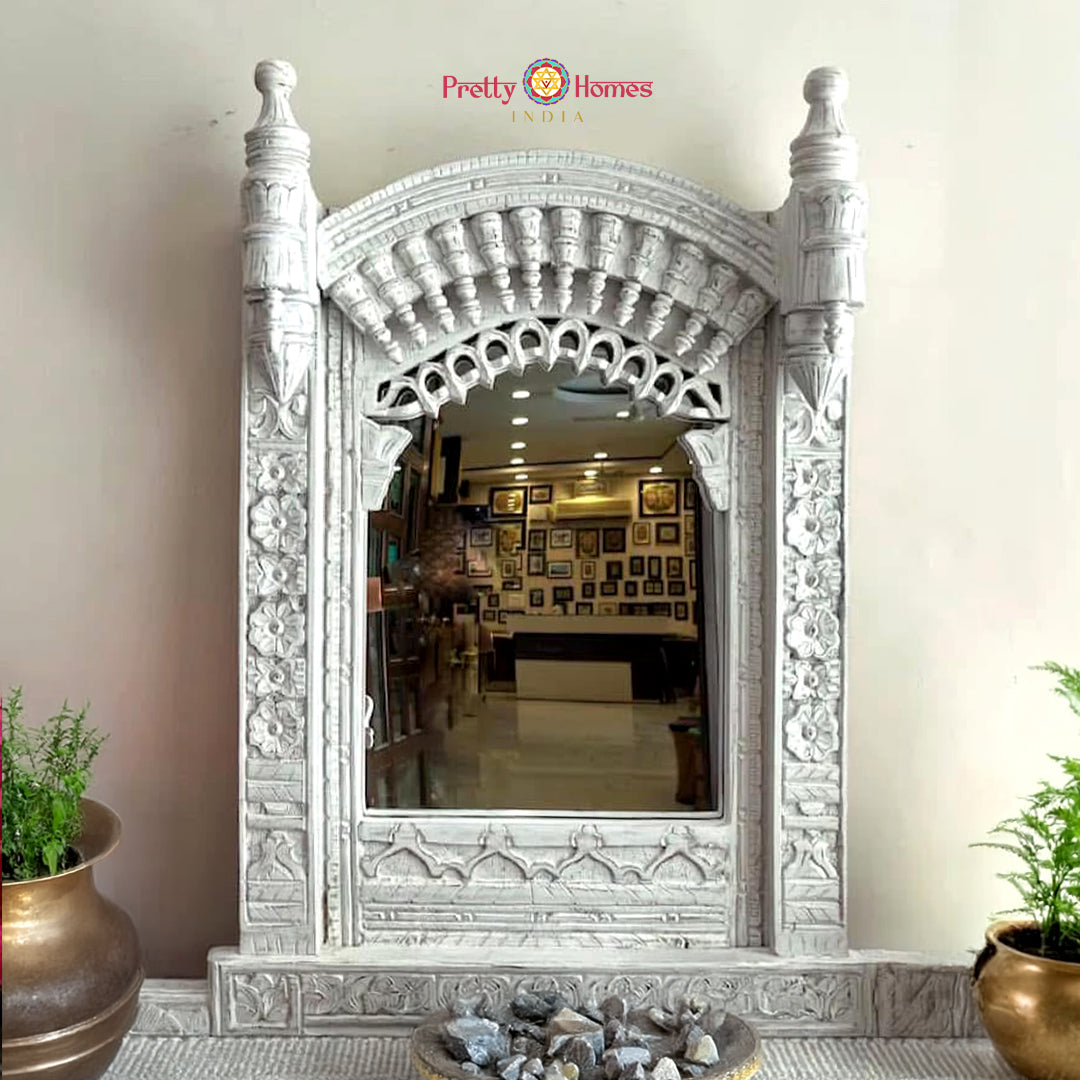
If you are looking for specific pieces to anchor your room, PrettyHomeIndia’s curated selection often features items that work beautifully, such as:
These are perfect as “hero” pieces on a panelled wall.
Step 5: Layer Your Decor (Don't Clutter)
Think of antique decorative items as jewellery for your room—too much can ruin the outfit. On your wood-panelled wall, layer your items gently.
Aim for one strong central piece (like a mirror or frame) supported by two or three smaller items, like a brass urli or a wooden horse statue.
Crucial: Leave enough "negative space" (empty wall). A single antique bracket on a wood panel often looks more expensive and striking than a wall covered in twenty small items.
Step 6: Balancing the TV Wall
If your panels are going behind the TV, you don't want your beautiful antiques to compete with the screen.
-
Centre the TV on the panelled wall.
-
Clear the zone immediately around the screen so your eyes can rest.
-
Anchor the bottom by using an antique console or trunk below the TV.
-
Decorate the edges by placing tall items (like brass lamps or sculptures) on the far left and right, rather than right under the screen.

Step 7: Lighting is Everything
You can have the most beautiful wood and antiques, but flat lighting will ruin the effect.
Go Warm: Always use warm white bulbs. Bright white or blueish light makes wood look cold.
Wash the Wall: Use floor lamps that shine upwards onto the panels to highlight the grain.
Skim the Details: If you have a carved panel, position a spotlight to "skim" across the surface. This creates shadows that highlight the floral patterns and curves you might miss during the day.
Step 8: Soften the Edges
Because you are using a lot of wood (panels + furniture), the room can feel heavy or "hard." You need to introduce softness.
Incorporate neutral upholstery (beiges, creams, off-whites), linen curtains instead of heavy drapes, and a soft rug. This contrast between the solid, historic wood and the airy textiles is what makes the space feel luxurious yet cosy.
Why This Combination Works
You might wonder why wood panels work so well with antiques. If you look at traditional Indian homes, palaces, or havelis, you’ll notice one thing immediately: carved wood is everywhere.
1. Instant Warmth: Plain painted walls can sometimes make antique furniture look a bit lonely. A wood-panelled wall provides a "soft envelope" that makes the room feel cozy and grounded.
2. Context: When a vintage carved panel sits on a plain wall, it looks nice. But when it sits on a wooden wall, it feels like part of a story. It provides the texture and depth that these historic pieces deserve.
3. Practical Magic: If you are using panels behind a TV, they are brilliant for hiding messy cables and improving acoustics, meaning your room looks cleaner and sounds better.
Quick Cheat Sheet: Do’s and Don’ts
DO:
-
Choose one main feature wall for panelling.
-
Let a few strong antique pieces lead the design.
-
Use warm lighting to enhance the wood grain.
DON’T:
-
Cover every wall in dark panels (unless you have a huge room).
-
Scatter antiques everywhere without a focal point.
-
Mix too many unrelated wood finishes and colours.
Final Thoughts
Styling antique furniture with wooden wall panels isn’t about following a rigid rulebook. It’s about creating a background that lets your history shine. Start with one feature wall, pick your "hero" antique piece, and remember to use good lighting. Over time, your living room will stop feeling like a stage set and start feeling like a story.
Explore the Collection: Ready to find your hero piece? Browse the curated collection of Horizontal Panels and Wall Brackets at PrettyHome India.